Setting Node-RED on Raspberry Pi 4
Raspberry Pi OS Installation
To set up your Raspberry Pi 4 for use with Node-RED and FlowFuse, follow these steps:
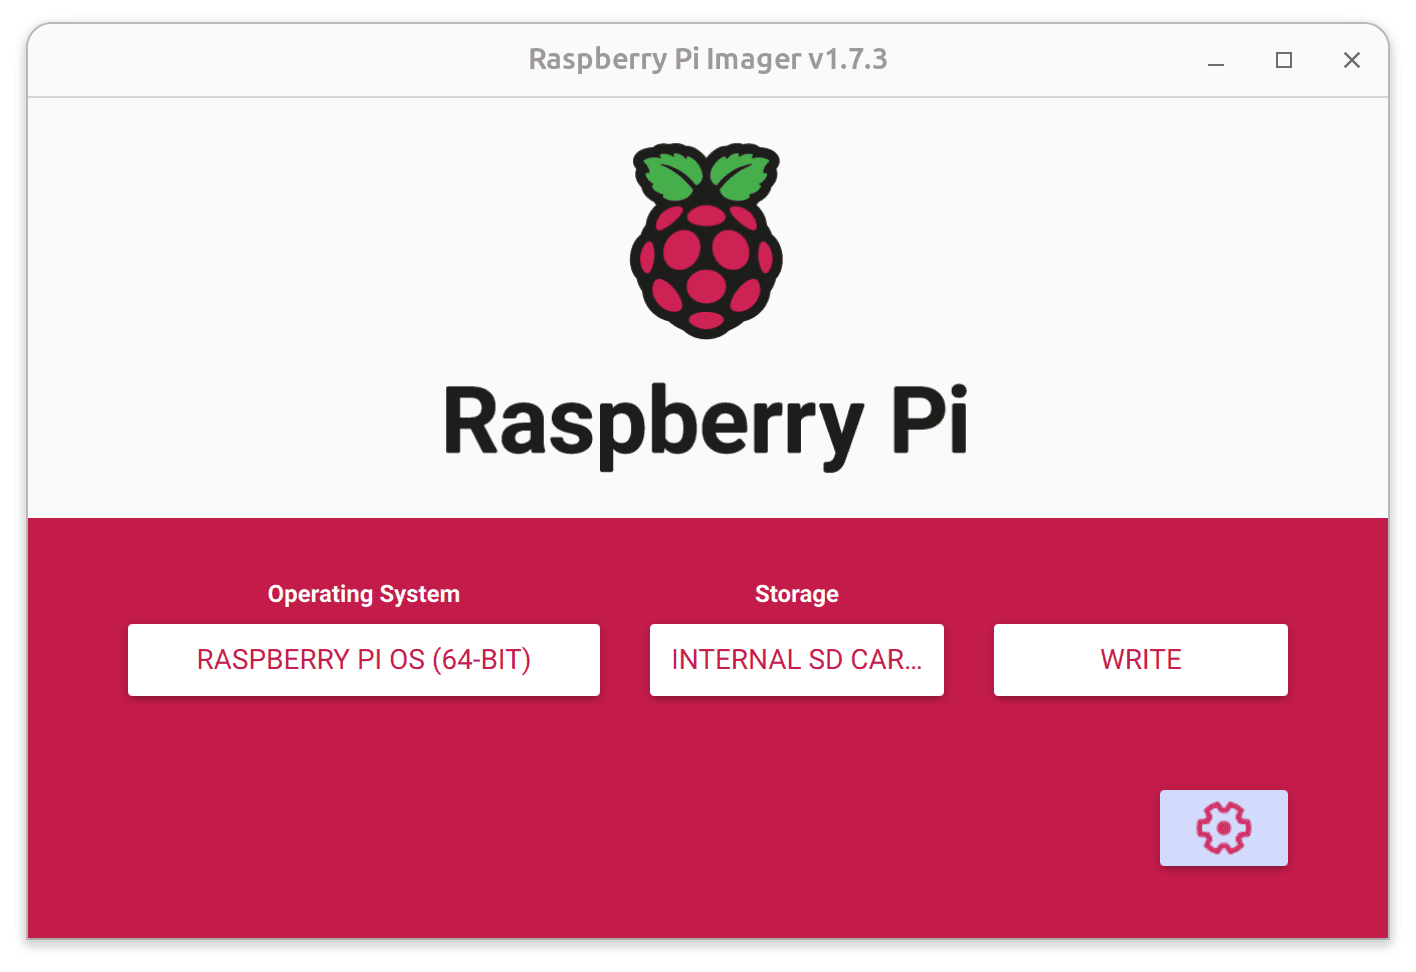
Flashing Raspberry Pi OS
- Use the official Raspberry Pi Imager to flash the 64-bit version of Raspberry Pi OS to an SD card.
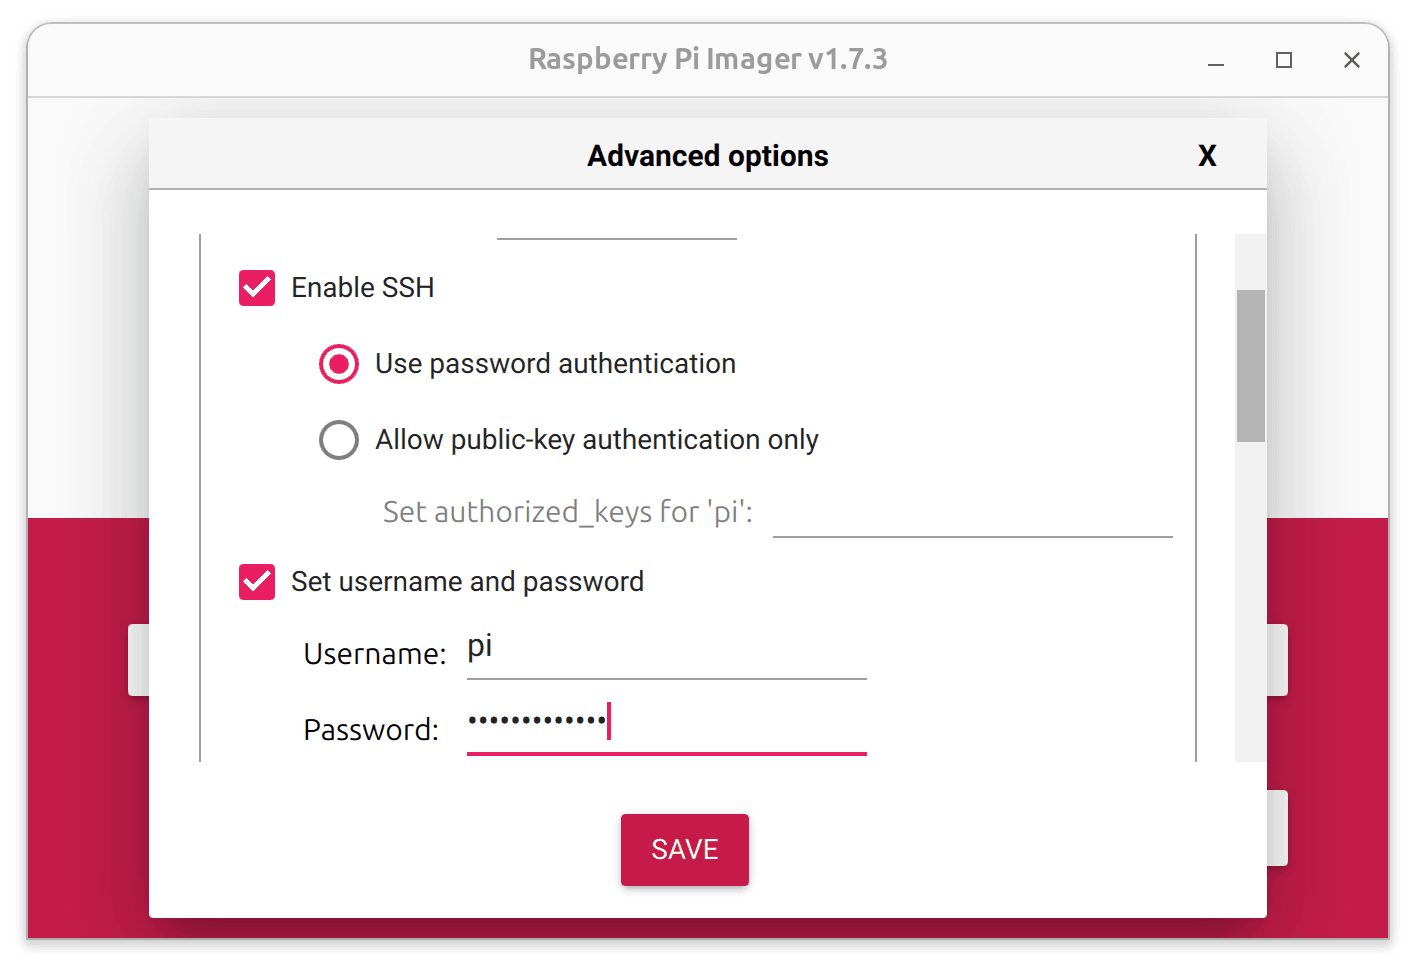
- Before writing to the SD card, configure the OS for headless mode, including Wi-Fi, SSH, and authentication settings.
-
Write the OS and configuration to the SD card. This process takes about 10 minutes.
-
Insert the SD card into the Raspberry Pi 4 and power it on. The device should appear on your network after a minute or so.
-
Connect to the Raspberry Pi using SSH:
ssh pi@raspberrypi.local
Getting Started
This guide explores how to install and run Node-RED through the FlowFuse Device Agent on the Raspberry Pi 4, enabling you to build, manage, and scale Node-RED flows efficiently from a remote location.
Installing FlowFuse Device Agent
Before we start, it is recommended to update and upgrade your system to ensure all your packages are up to date:
sudo apt update && sudo apt upgrade -yNext, let's install the FlowFuse device agent with the following script.
bash <(curl -sL https://raw.githubusercontent.com/FlowFuse/device-agent/main/service/raspbian-install-device-agent.sh)This script installs the Node.js runtime (if not already installed), sets up the FlowFuse device agent, and configures the device to automatically run the FlowFuse agent on boot and restart it in case of a crash.
To verify that the service is running, use the following command:
sudo systemctl status flowfuse-device-agent.serviceIf running, you should see a result similar to the one shown in the image below:

Registering the Device to Connect to FlowFuse
Once you have installed the FlowFuse Device Agent, you need to register the hardware to connect it to your FlowFuse team.
For instructions on how to register the hardware with your FlowFuse team, follow the documentation: Register your Remote Instance.
When registering your hardware, you will be presented with a dialog containing a one-time passcode command that the Device Agent uses to retrieve its configuration. Make sure to copy it.

Connecting Device
Execute the command you have copied with sudo as shown below
sudo flowfuse-device-agent -o <insert-your-three-word-token> https://app.flowfuse.comOnce executed, you should see an output similar to the one below, indicating that the FlowFuse Device Agent has been successfully configured:
[AGENT] 3/21/2025 7:09:25 PM [info] Entering Device setup...
[AGENT] 3/21/2025 7:09:27 PM [info] Device setup was successful
[AGENT] 3/21/2025 7:09:27 PM [info] To start the Device Agent with the new configuration, run the following command:
[AGENT] 3/21/2025 7:09:27 PM [info] flowfuse-device-agent
Now, you can check the remote instance in the FlowFuse platform, where its status should be displayed as "running.".

Accessing Node-RED Editor.
- Login into your FlowFuse account.
- Click on the remote instances option in the left sidebar.
- Click on the device and enable the developer mode by clicking on the top right-corner switch.
- Once Developer Mode is enabled, click on the Open Editor option located next to the that switch.
For more information refer to FlowFuse documentation
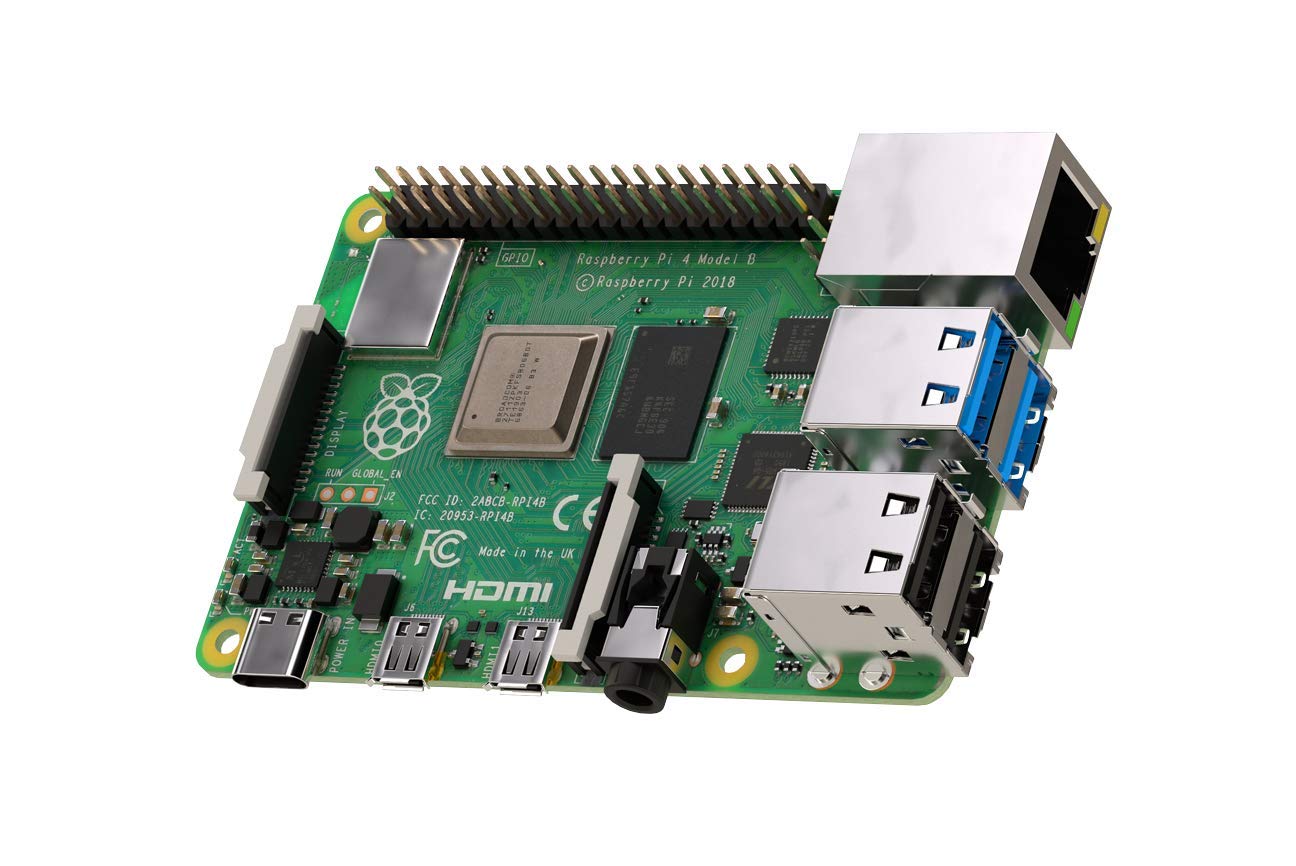
- Model: Raspberry Pi 4 B 8GB
- RAM_MB: 8192
- Processor: Broadcom BCM2711, ARM Cortex-A72 (ARMv8-A), 4 (Quad-core)
- GPIO: (Fully backwar ds-compatible with previous boards), Standard 40-pin GPIO Header
- Connectivity: Dual-band Wi-Fi, Bluetooth 5.0, Gigabit Ethernet, 2x USB 3.0, 2x USB 2.0
- Clock Speed: 1.5 GHz
- Storage: microSD