Setting Node-RED on Robustel EG5120
The Robustel EG5120 is a versatile gateway that facilitates robust connectivity for industrial IoT applications. Integrating this powerful hardware with FlowFuse not only enhances its capabilities but also simplifies the management and deployment process. In this documentation, we’ll walk through the steps to integrate the Robustel EG5120 with FlowFuse.
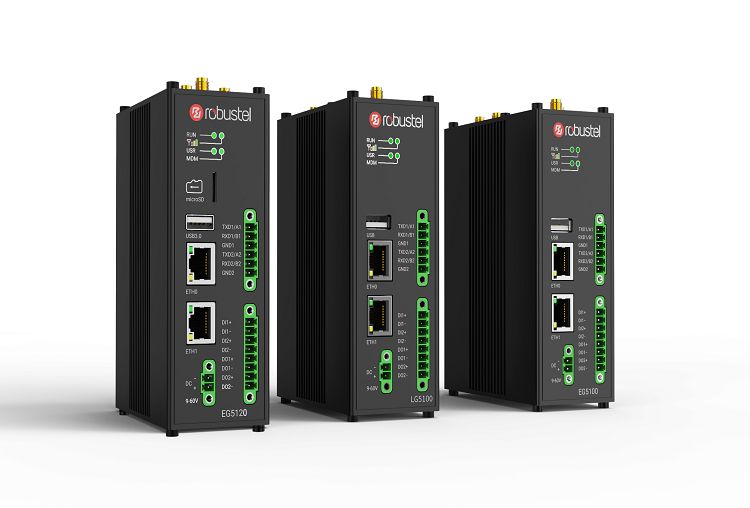
The Robustel EG5120, equipped with Linux-based Debian 11 supporting a wide variety of programming languages including Node.js, offers robust connectivity options. When combined with FlowFuse, this gateway becomes even more powerful, enabling seamless device management and deployment.
The Robustel EG5120 supports multiple connectivity options including Ethernet, Wi-Fi, and cellular networks, which are essential for flexible deployments in various industrial scenarios. Its built-in support for Bluetooth, cellular connectivity, RS232, RS485, and Modbus facilitates seamless integration with a wide array of IoT devices and services. This blog will guide you through using FlowFuse to effectively manage your Node-RED instance, enhancing both the security and scalability of your IoT applications.
Getting Started
This guide explores how to install and run Node-RED through the FlowFuse Device Agent on the Robustel EG5120, enabling you to build, manage, and scale Node-RED flows efficiently from a remote location.
Installing FlowFuse Device Agent
Before we start, it is recommended to update and upgrade your system to ensure all your packages are up to date:
sudo apt update && sudo apt upgrade -yNext, let's install the FlowFuse device agent with the following script.
bash <(curl -sL https://raw.githubusercontent.com/FlowFuse/device-agent/main/service/raspbian-install-device-agent.sh)This script installs the Node.js runtime (if not already installed), sets up the FlowFuse device agent, and configures the device to automatically run the FlowFuse agent on boot and restart it in case of a crash.
To verify that the service is running, use the following command:
sudo systemctl status flowfuse-device-agent.serviceIf running, you should see a result similar to the one shown in the image below:

Registering the Device to Connect to FlowFuse
Once you have installed the FlowFuse Device Agent, you need to register the hardware to connect it to your FlowFuse team.
For instructions on how to register the hardware with your FlowFuse team, follow the documentation: Register your Remote Instance.
When registering your hardware, you will be presented with a dialog containing a one-time passcode command that the Device Agent uses to retrieve its configuration. Make sure to copy it.

Connecting Device
Execute the command you have copied with sudo as shown below
sudo flowfuse-device-agent -o <insert-your-three-word-token> https://app.flowfuse.comOnce executed, you should see an output similar to the one below, indicating that the FlowFuse Device Agent has been successfully configured:
[AGENT] 3/21/2025 7:09:25 PM [info] Entering Device setup...
[AGENT] 3/21/2025 7:09:27 PM [info] Device setup was successful
[AGENT] 3/21/2025 7:09:27 PM [info] To start the Device Agent with the new configuration, run the following command:
[AGENT] 3/21/2025 7:09:27 PM [info] flowfuse-device-agent
Now, you can check the remote instance in the FlowFuse platform, where its status should be displayed as "running.".
Accessing Node-RED Editor.
- Login into your FlowFuse account.
- Click on the remote instances option in the left sidebar.
- Click on the device and enable the developer mode by clicking on the top right-corner switch.
- Once Developer Mode is enabled, click on the Open Editor option located next to the that switch.
For more information refer to FlowFuse documentation
- Model: Robustel EG5120
- RAM_MB: 2048
- Processor: Broadcom BCM2711, ARM Cortex-A72 (ARMv8-A), 4 (Quad-core)
- GPIO: Standard 40-pin GPIO Header
- Connectivity: Dual-band Wi-Fi, Bluetooth 5.0, Gigabit Ethernet, 2x USB 3.0, 2x USB 2.0
- Clock Speed: 1.5 GHz
- Storage: microSD