Setting up Node-RED on Opto-22 Groov Rio R7
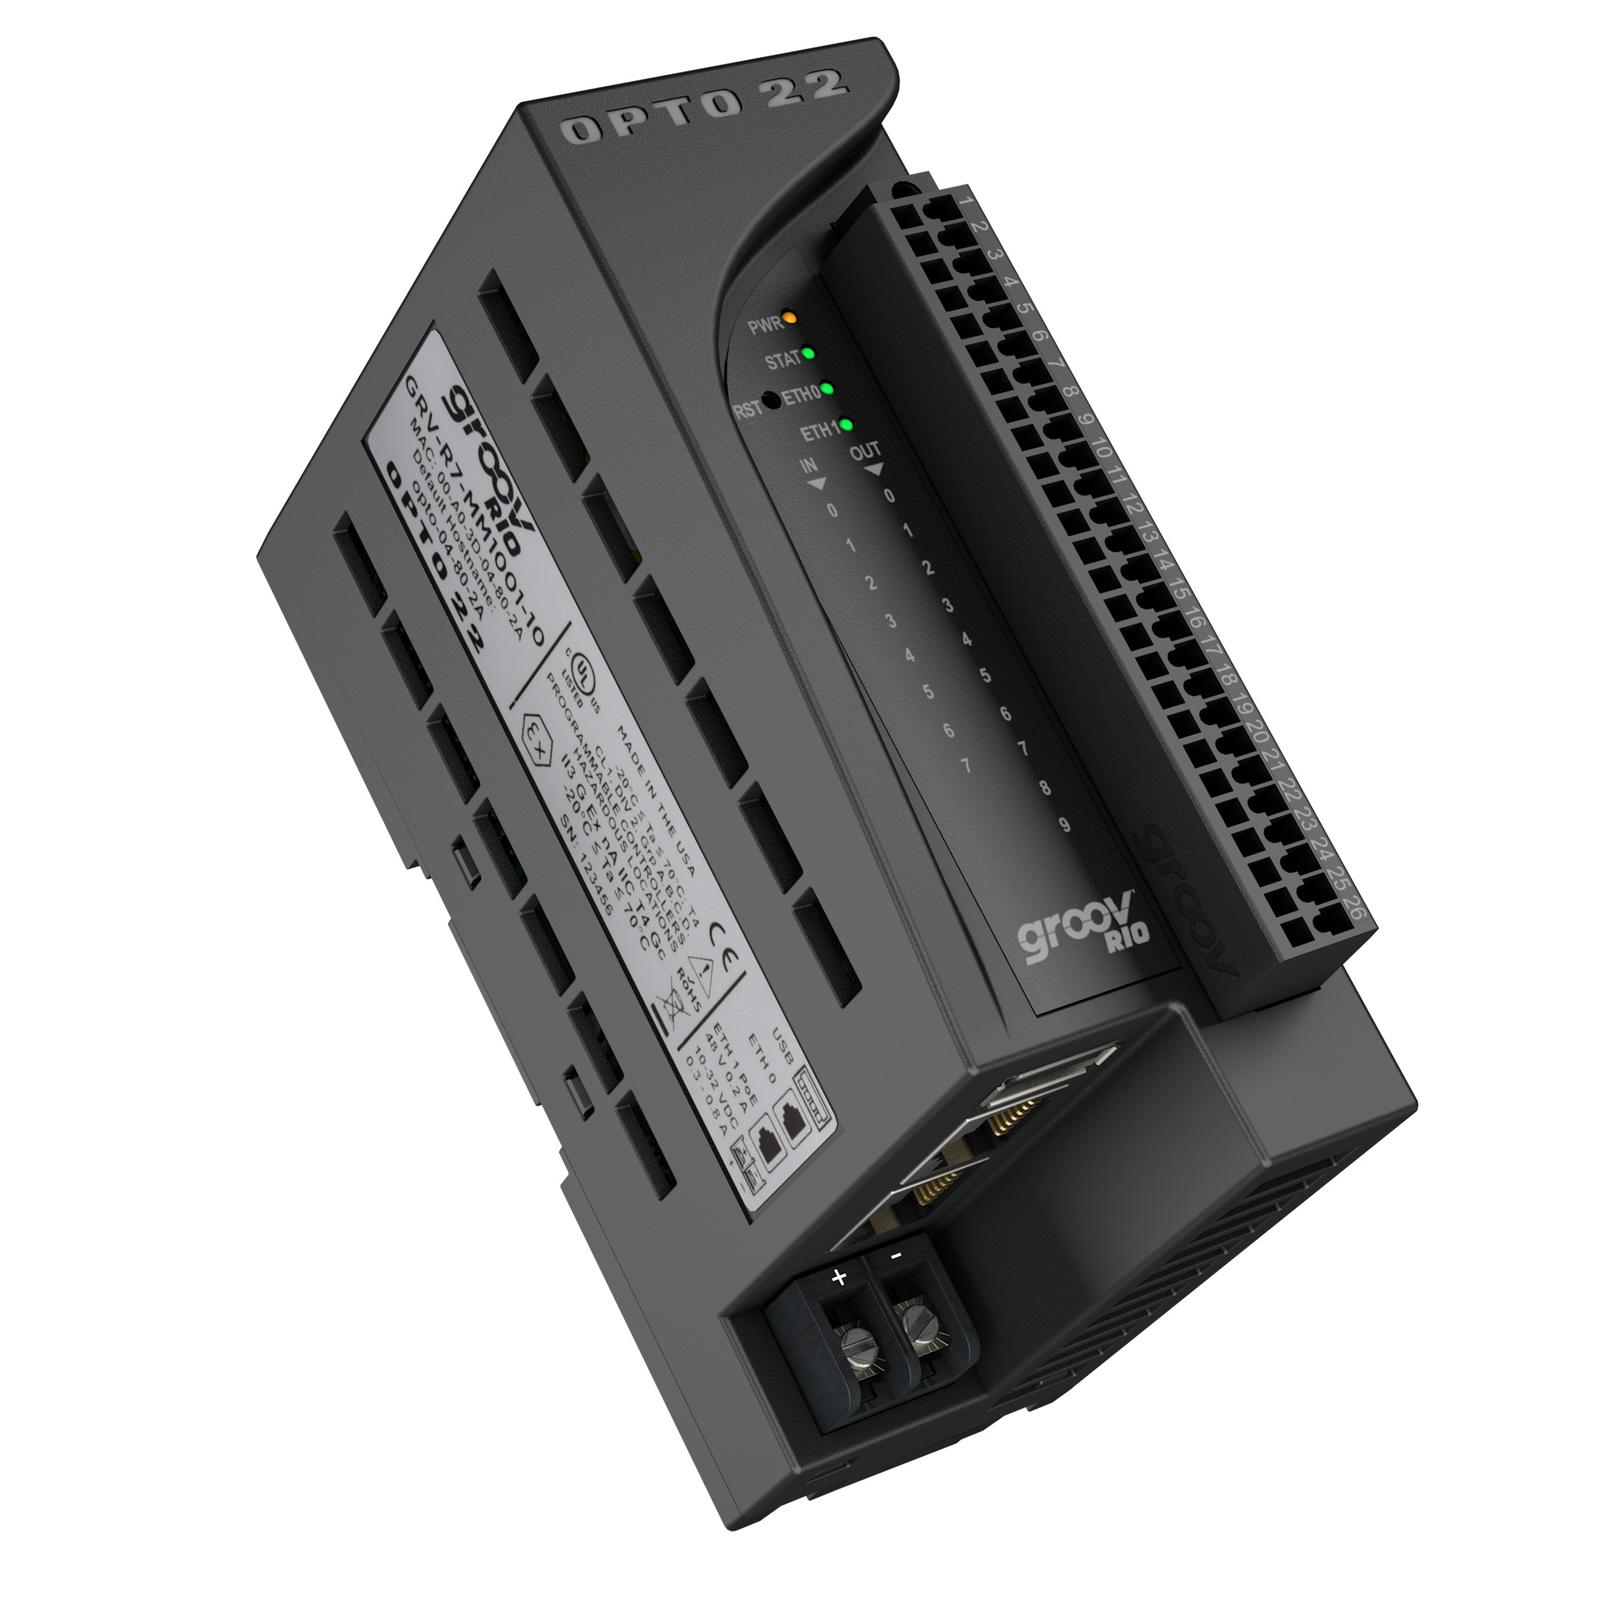
The Opto-22 Groov Rio R7 is a rugged edge I/O module designed for industrial applications. Equipped with a powerful ARM Cortex-A8 processor, versatile I/O channels, and various connectivity options, it’s an ideal solution for edge computing and industrial IoT.
Prerequisites
Before proceeding with the installation, ensure you have the following:
- Opto-22 Groov Rio R7 – A functioning device with internet access.
- FlowFuse Account - You need an active FlowFuse account to access the platform and configure your instance. If you do not have one, please visit the FlowFuse website and sign up for a new account before proceeding.
- Sudo Privileges – Administrator access to install required packages.
Getting Started
This guide will walk you through setting up Node-RED on the Groov Rio R7 using the FlowFuse Device Agent, allowing you to manage, scale, and secure your remote instances effectively.
Installing FlowFuse Device Agent
Before starting the installation, it is recommended to update your system to ensure that all your packages are up to date. You can use groov manage, which acts as the command central for your groov RIO devices. For detailed instructions on how to update the system, watch this video.
This guide is written for the firmware version of: 4.0.2-b.194. Node.JS 20 is available on the device, and you should be good to go to register the edge device on FlowFuse.
Registering the Device to Connect to FlowFuse
Once you have installed the FlowFuse Device Agent, you need to register the hardware to connect it to your FlowFuse team.
For instructions on how to register the hardware with your FlowFuse team, follow the documentation: Register your Remote Instance.
When registering your hardware, you will be presented with a dialog containing a one-time passcode command that the Device Agent uses to retrieve its configuration. Make sure to copy it.

Connecting Device
Execute the command you have copied with sudo as shown below
sudo flowfuse-device-agent -o <insert-your-three-word-token> https://app.flowfuse.com --port 1881Important: Be sure to include the --port 1881 flag when running the command. By default, the Opto-22 firewall only allows access to port 1880 (default Node-RED port) by a very restricted list of users, so the Groov Rio R7 requires specifying port 1881 for the Device Agent to start correctly.
Once executed, you should see an output similar to the one below, indicating that the FlowFuse Device Agent has been successfully configured:
[AGENT] 3/21/2025 7:09:25 PM [info] Entering Device setup...
[AGENT] 3/21/2025 7:09:27 PM [info] Device setup was successful
[AGENT] 3/21/2025 7:09:27 PM [info] To start the Device Agent with the new configuration, run the following command:
[AGENT] 3/21/2025 7:09:27 PM [info] flowfuse-device-agent
Now, you can check the remote instance in the FlowFuse platform, where its status should be displayed as "running.".
- Model: GRV-R7-MM2001-10
- RAM: 1024 MB MB
- Processor: ARM Cortex-A8, 1 GHz
- I/O Channels: 10 multi-signal, multifunction channels (analog I/O, temperature, discrete I/O, mechanical relays)
- Connectivity:
- Dual switched Gigabit Ethernet
- USB 2.0 (host)
- Power over Ethernet (PoE)
- 10–32 VDC power input
- Clock Speed: 1 GHz
- Storage:
- 4 GB eMMC (internal)
- USB memory stick support (up to 32 GB)