Personalised Multi-user Dashboards with Node-RED Dashboard 2.0!
Explore how to build multi-user Dashboards, secured with FlowFuse Cloud!
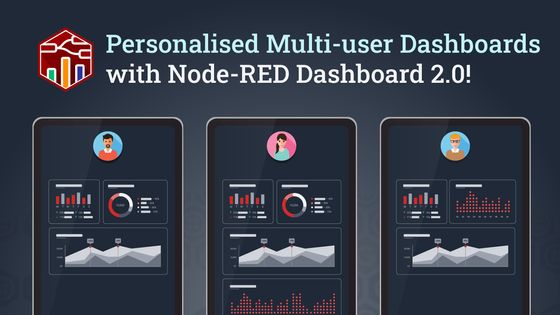
This week has seen the release of the first major version of Node-RED Dashboard 2.0, with it, we've made available a new FlowFuse-exclusive feature, personalised multi-user dashboards.
This new feature will allow you to build applications that provide unique data to each user, build admin-only views, and track user activity, to name but a few. We're really excited to see what the Node-RED Community and our FlowFuse customers can do with such a powerful and flexible framework.
Personalised Multi User Dashboards
The original Node-RED Dashboard was built with a "single source of truth", no matter how many users interacted with the dashboard, each user would always see the same data. This is great for prototyping, or hobby projects, but as you scale up your Node-RED usage, you'll want to be able to have unique dashboard experiences for each user.
Getting Started
To enable personalised multi-user dashboards, you'll need to be using FlowFuse, and complete two steps:
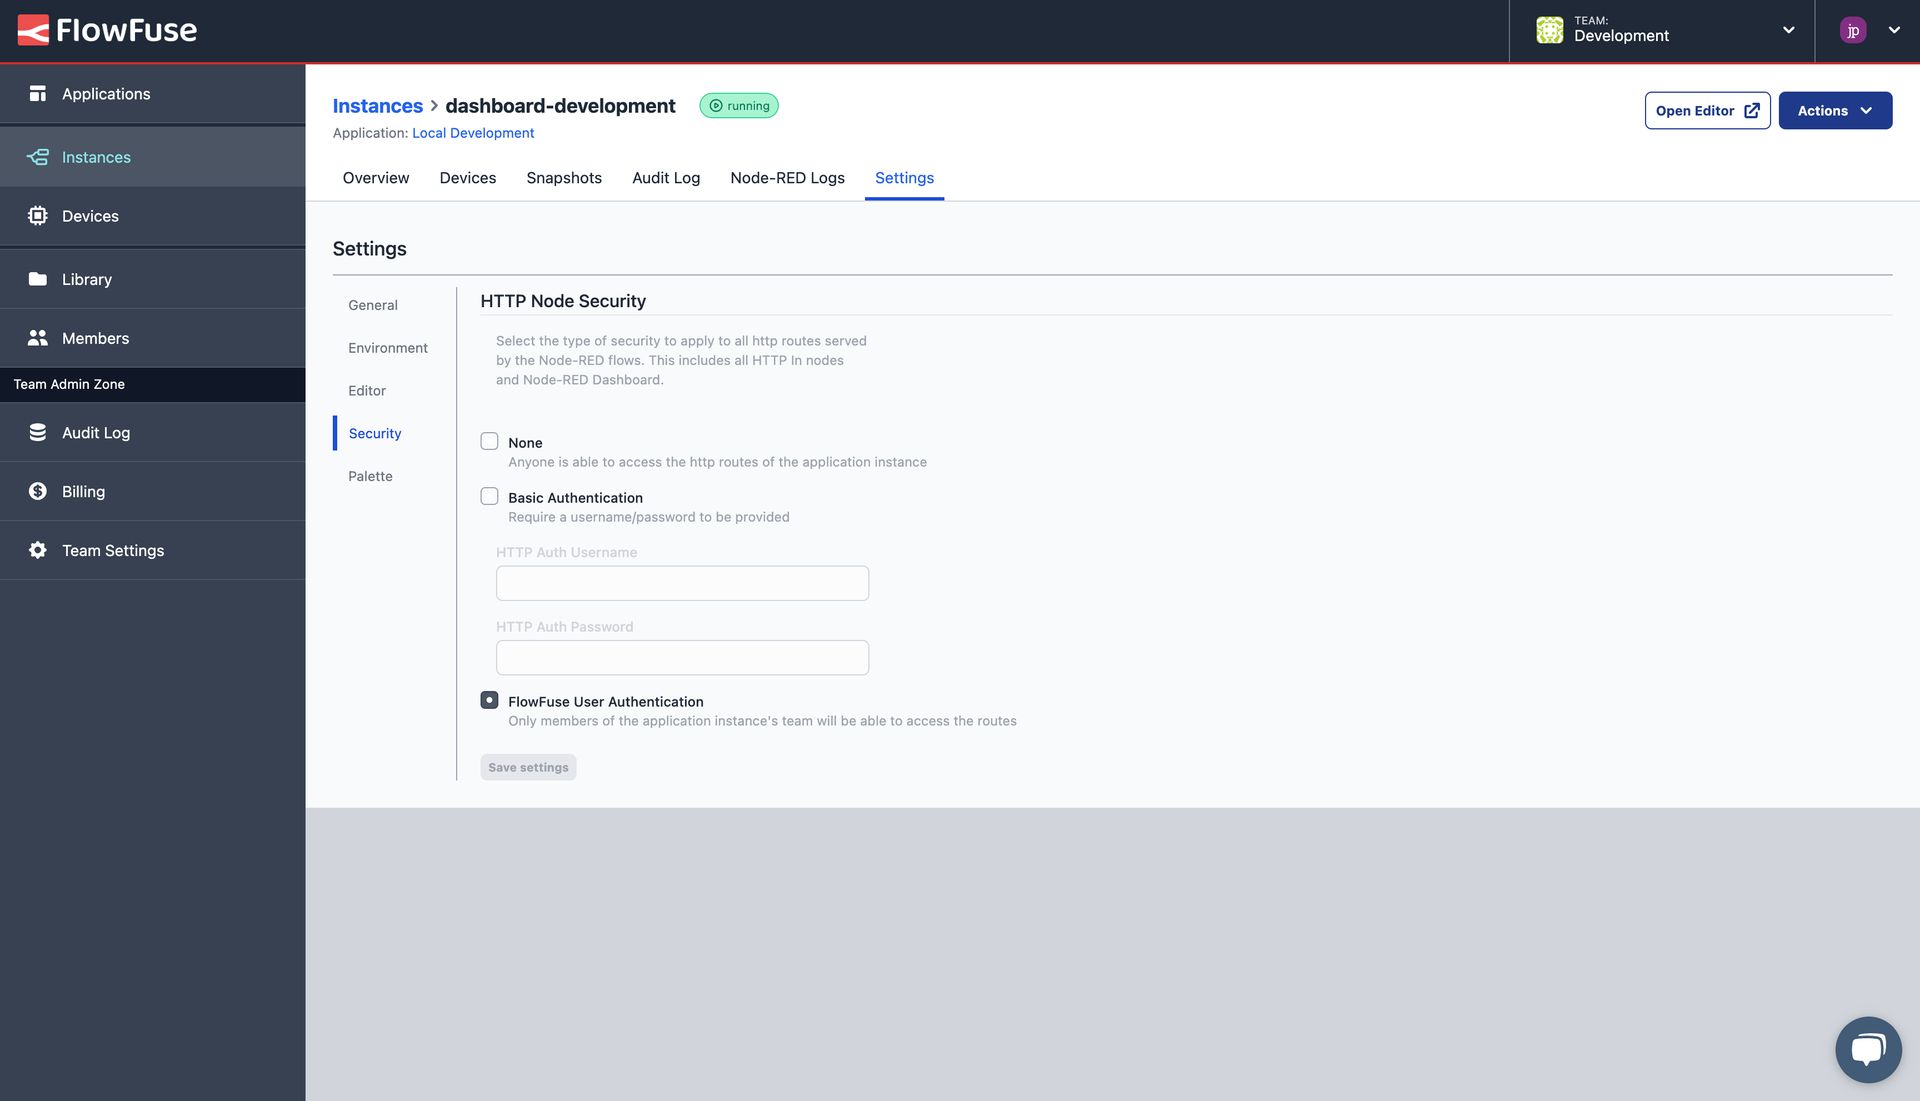
Step 1: Enable "FlowFuse User Authentication"
All instances on FlowFuse can be configured with "FlowFuse User Authentication" in the "Security" Settings. This option requires any user that wants access to your Editor or dashboard to be authorized by FlowFuse first.
Step 2: Install FlowFuse's User Addon
FlowFuse Cloud
Note: Every instance created from today onwards automatically comes with the necessary configuration. Already created instances need to be manually restarted.
The Personalised Multi-User Dashboard plugin, @flowfuse/node-red-dashboard-2-user-addon, is available in our Certified Nodes catalogue, accessible to our Teams and Enterprise customers.
Once the "FlowFuse User Authentication" option has been enabled on your instance, you can then install our plugin, @flowfuse/node-red-dashboard-2-user-addon, through the "Manage Palette" option in the Node-RED Editor.
For your devices, we provide the necessary configuration and access token upon request, so that your Node-RED devices can also benefit from a Personalised Multi-user Dashboard.
FlowFuse Self-Hosted
For all our Teams and Enterprise Self-Hosted customers who also want to use the Certified Nodes and the Multi-User Dashboard, we provide all necessary configurations upon request to get started.
Alternatively, if you're looking to elevate your Node-RED infrastructure, book in a chat with us to talk about how FlowFuse can help.
Using the Plugin
Once enabled, any messages emitted by a Dashboard 2.0 node will contain a new msg._client.user object, e.g:
{
    "userId": "",   // unique identifier for the user
    "username": "", // FlowFuse Username
    "email": "",    // E-Mail Address connected to their FlowFuse account
    "name": "",     // Full Name
    "image": ""     // User Avatar from FlowFuse
}
Then, when running Node-RED Dashboard 2.0 on FlowFuse, you'll have a new sidebar option in the Node-RED Editor, which allows you to control which node types allow for "client constraints".
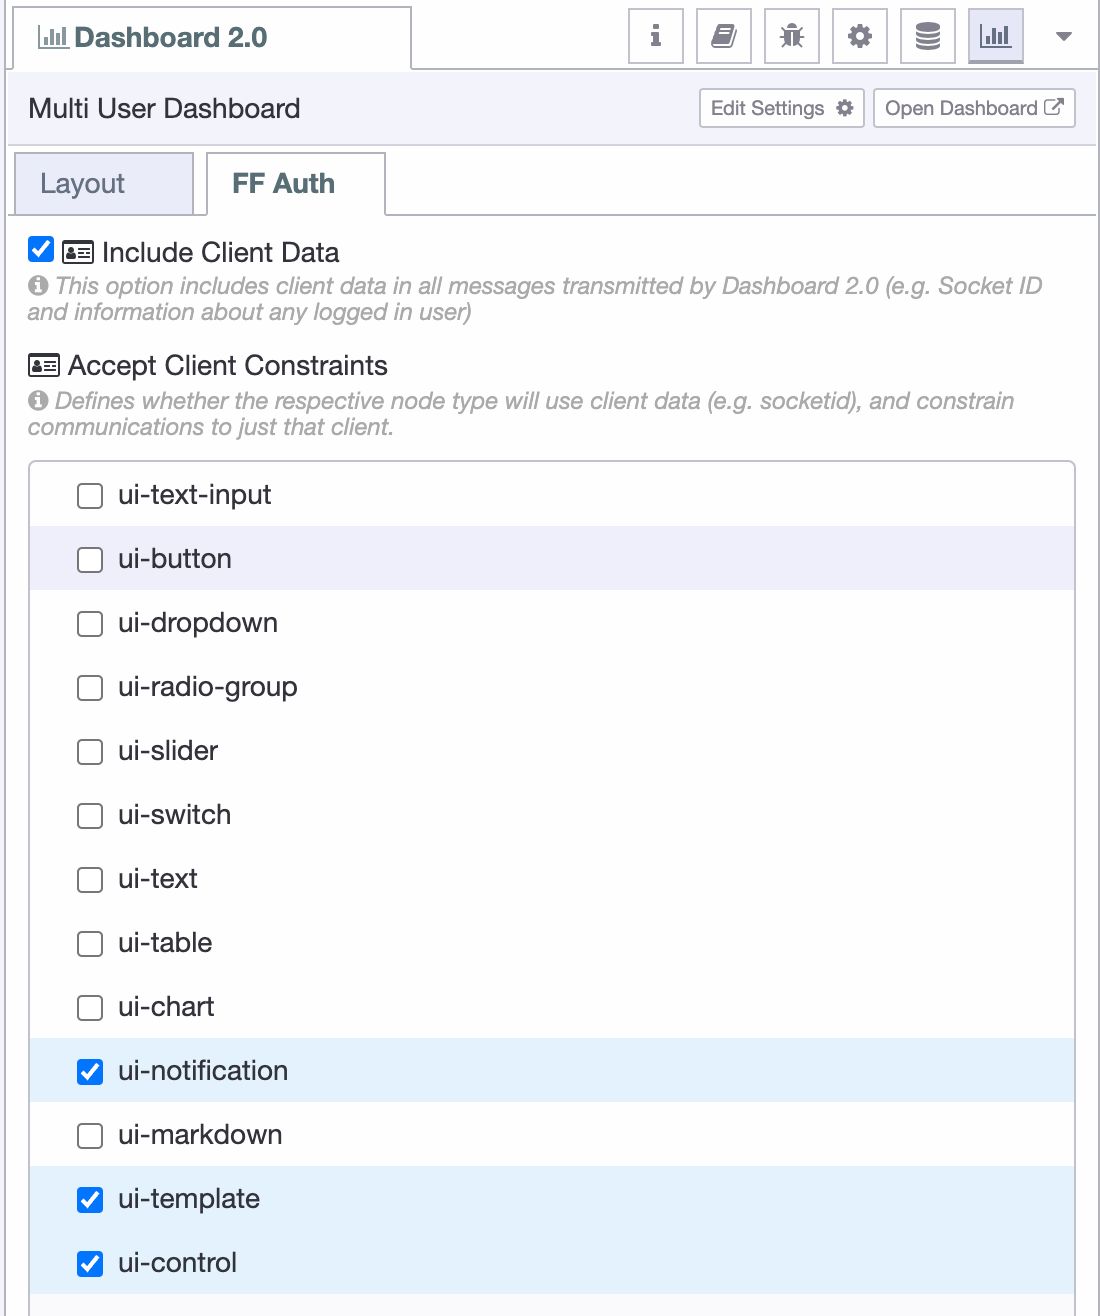
In the original Node-RED Dashboard, this was always enabled for the ui-notification and ui-control nodes, whereby you could include msg.socket data and it would only then send that message to the specified client. For Dashboard 2.0 we've extended this concept so that as a Node-RED Developer, you can now include msg._client.user data in any message sent to a Dashboard 2.0 node. Under the covers, our FlowFuse-exclusive plugin will then automatically filter messages to only send to the relevant user's connection.
Utilising this feature, below you can see an example where we send data to a ui-template to render a custom table for each user. Under the covers this is a ui-event node (triggered on a page view), which then uses the msg._client.user object to make a REST API call to retrieve a list of todo items for that specific user. We then wire the response into the ui-template, which has been configured to "Accept Client Constraints", and so only sends this data to User 2's dashboard.
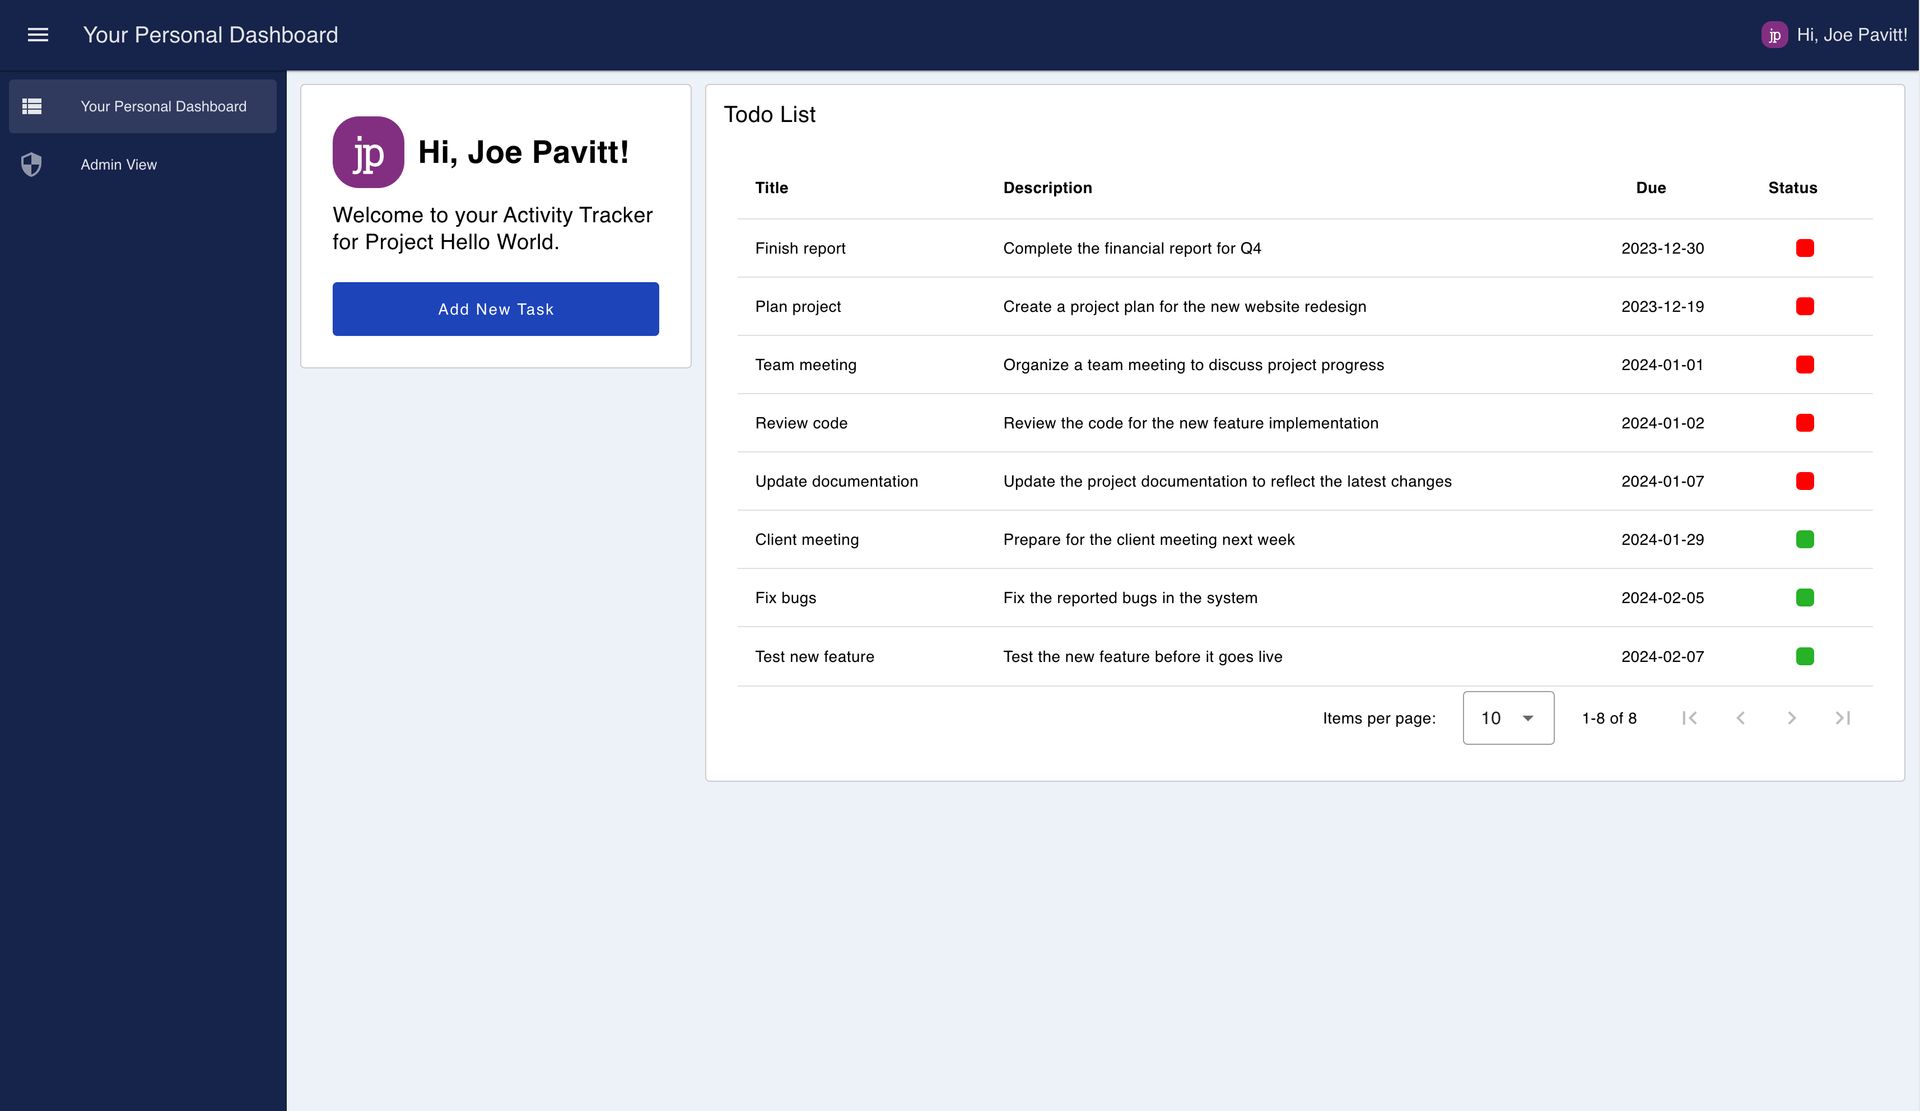
Note too that we're also utilising the new Teleport option available in a ui-template which allows us to define content to show in the top-right of the dashboard, in this case, a little "Hi {username}" message.
Examples
Rendering Logged In User Data
In the previous example, you may have noticed that we're also displaying a welcome to the authenticated user on our dashboard, this means that we have access to the full User object within any ui-template that we render too.
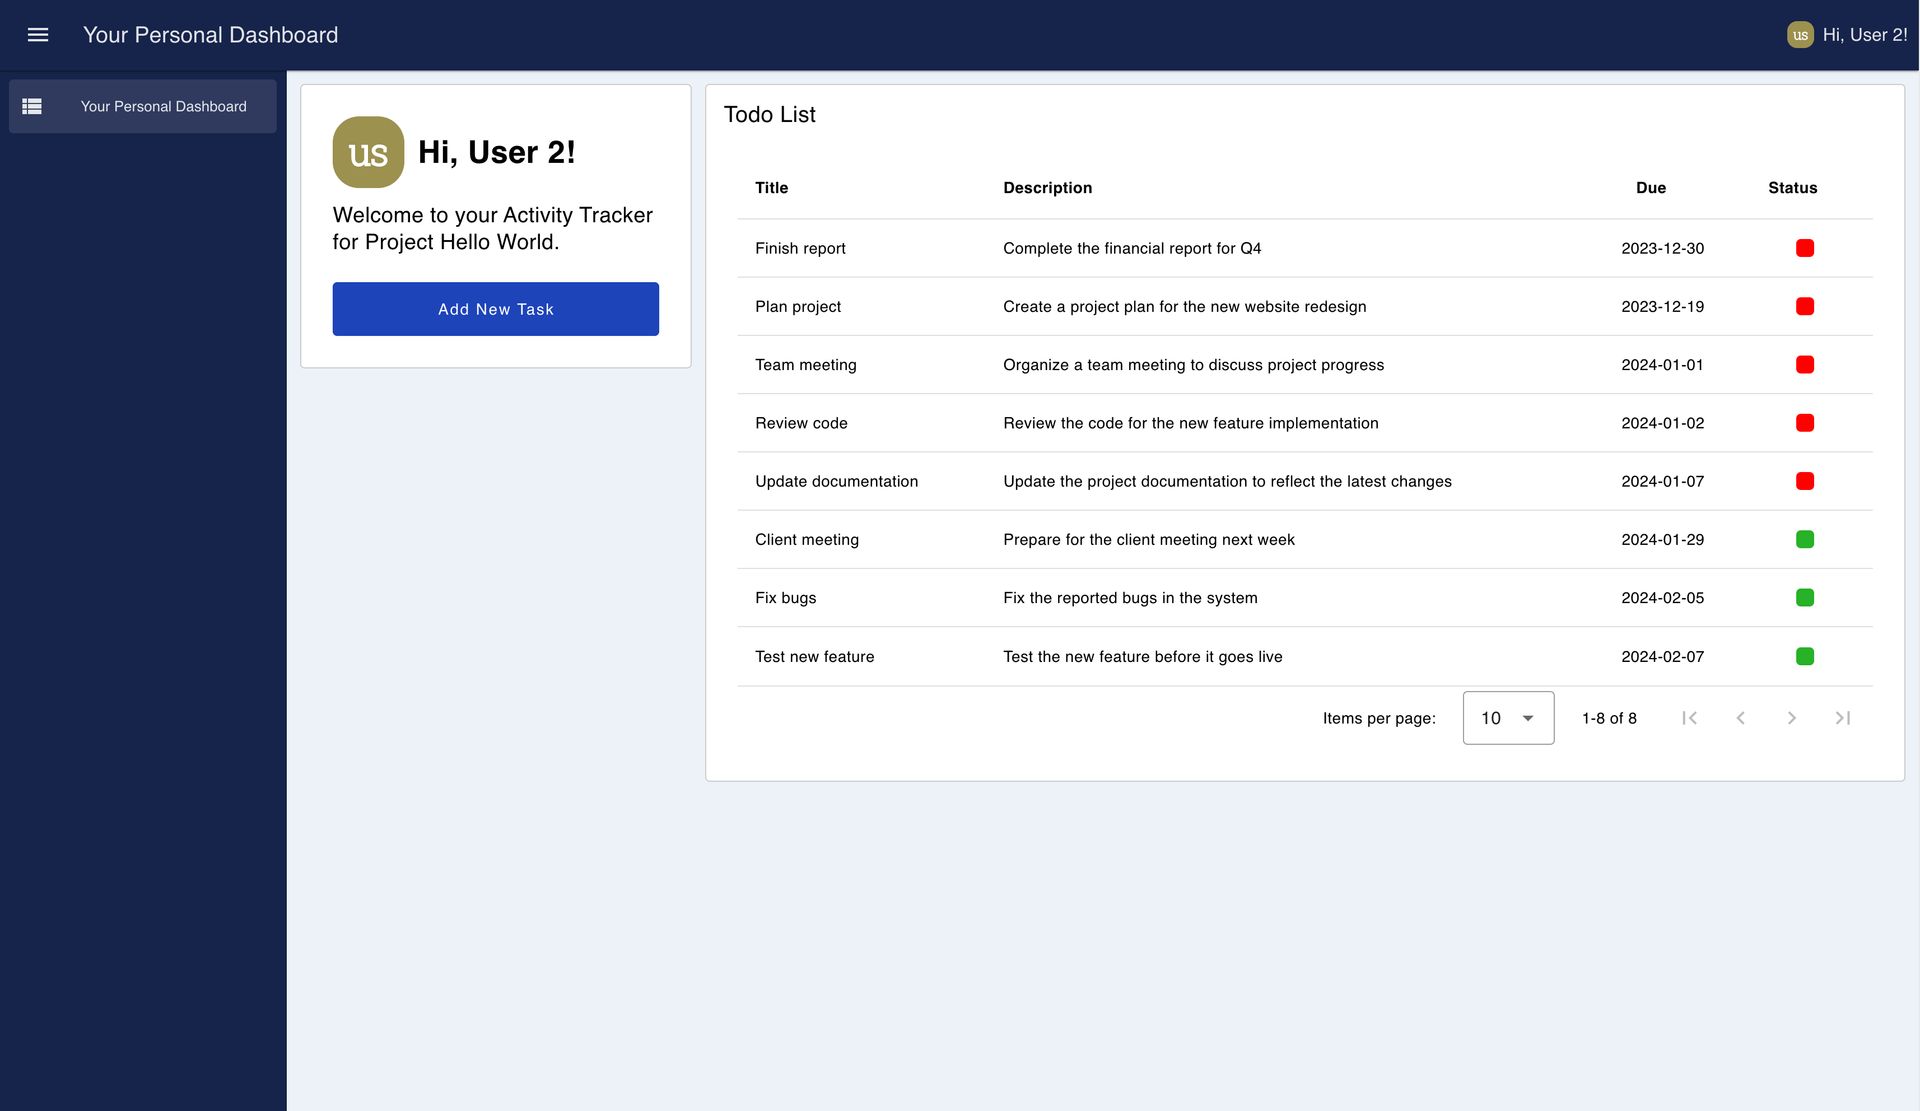
Under the covers, we're appending our user object to the msg object, via the SocketIO auth option. We make the socketio object available via a computed setup variable, this means that we can access this data in any ui-template node, and render like so:
<template>
    <div>
        <h1>Hi, {{ setup?.socketio?.auth?.user?.name }}!</h1>
    </div>
</template>
To enable custom user-by-user content in a ui-template though, we must allow it to "Accept Client Constraints". This means that if a .msg._client.user value is included in any messages sent to a ui-template node, then the underlying SocketIO message will be filtered to only send to the relevant user's connection, and no others.
Admin Only Views
With this new functionality we can also now show/hide content based on the authenticated user.
We recently introduced the option to set default visiblity & interaction states. This was partly introduced because it's a good practice to set the default "Visibility" option for any admin-only pages to "Hidden", and then use a ui-control node to show the content only to the relevant admins.
Let's breakdown the above flow:
- We wire a
ui-eventnode (which emits each time a user views a page) into a switch node - Our switch node checks the
user.usernameagainst a known list of admin users and branches "admin:" and "non-admin" users - For admin users, the
changenode defines a message for ourui-controlnode to dynamically show content, in this case an "Admin" page, when appropriate.
{
    "pages":{
        "show": ["Admin View"]
    }
}
All events going into ui-control are automatically filtered based on the msg._client.user object, so only the Admin users will receive the message to show the "Admin View" page, resulting in:
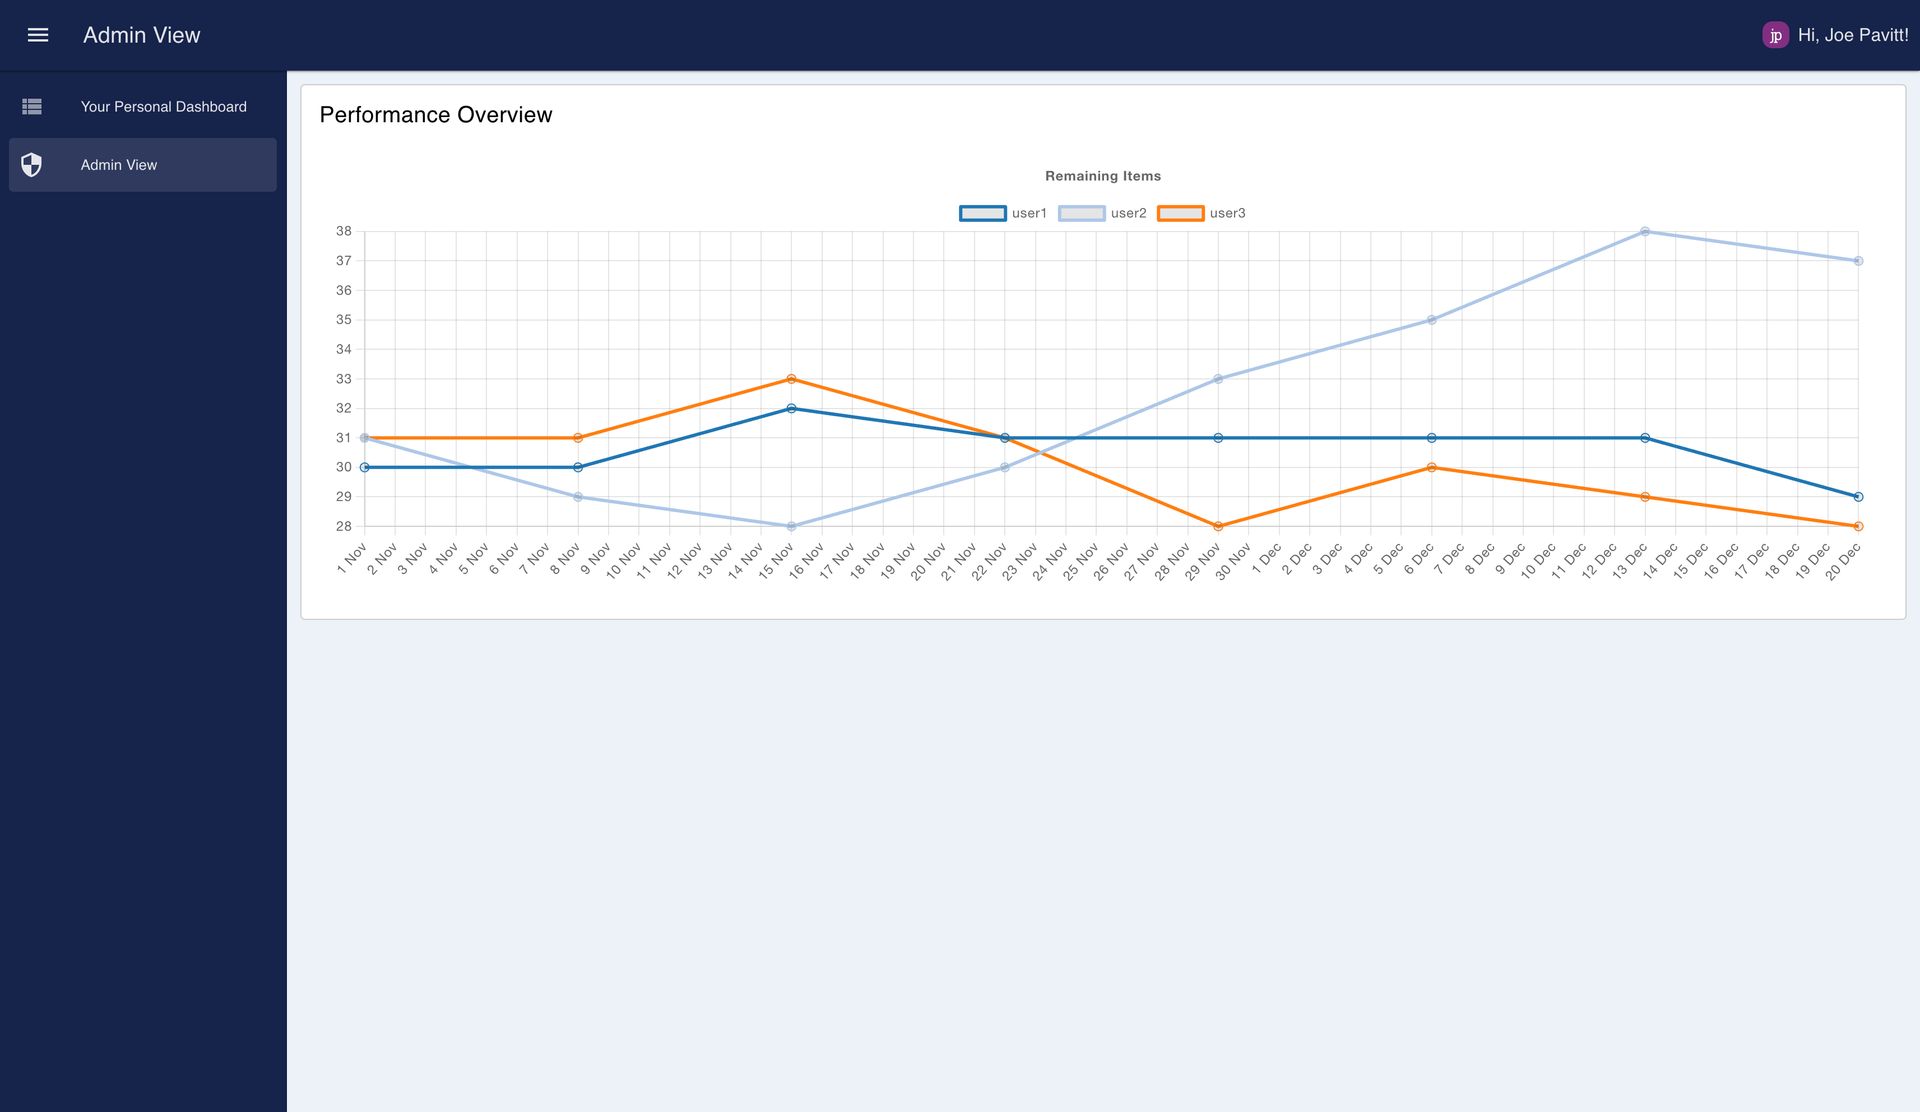
Further extensions of this could also check ui-event in case a non-admin user tries to access the /admin page directly, in which case we can utilise ui-control to navigate the user away from the page immediately. See the ui-control documentation for more details on this.
Upcoming Webinar
If you're interested in learning more about Dashboard 2.0 and in particular multi-user Dashboards, we're hosting a webinar on Thursday, 29th February. You can find out more information here
Follow our Progress
We aren't stopping here, we'll continue to push Dashboard 2.0 forward with future development, and you can track that progress on our GitHub Projects:
If you have any feature requests, bugs/complaints or general feedback, please do reach out, and raise issues on our relevant GitHub repository.