Custom Vuetify components for Dashboard 2.0
Expand your dashboard with the full collection of Vuetify components

Vuetify is a library of UI components using Vue. This saves the developers of Dashboard 2.0 a lot of time, but it can also help you, the end-user. As Vuetify is now included, it can be used to include any of their components. So in this post we're going to use a few of these to teach you how to use any of them.
Let's install the Dashboard 2.0 package if you want to follow along. When that's done, let's figure out how to build custom components on dashboards.
# Custom components
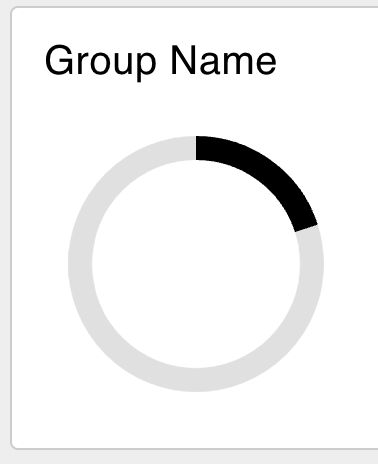
While going through the list of components on Vuetify there's several examples that aren't natively implemented in Dashboard 2.0. One example we'll use in a dashboard in this post is the Progress circular to build a count down timer.
The documentation explains which elements one can change, in this case the size and width. Having set those to the values you'd want in your dashboard, the HTML is generated for you, in my case it's:
<v-progress-circular model-value="20" :size="128" :width="12"></v-progress-circular># Using the template node
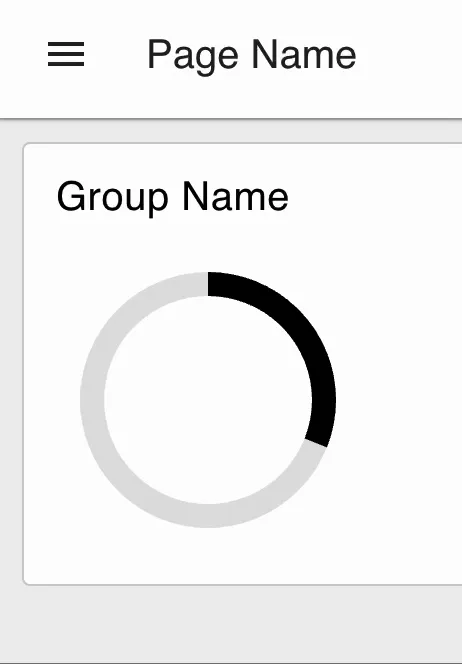
Like the template core node, the dashboard package comes with a template node of its own. If we take the HTML from the Vuetify docs pages and copy it in a template node the spinner will show up on the dashboard.

# Dynamic templates
While a custom element on a page is cool, and shows you can inject arbitrary HTML on a Dashboard, it's even better if we could make the element dynamic. So let's start with a first dynamic element. The quickest way to get that done is have an Inject node output a random number every second.
So let's hook up an Inject, with msg.payload's output being a JSONata expression
$round($random() * 100) to generate a random number. And let's make sure it sends a message every second.
Then we need to update the template node to the following snippet:
<v-progress-circular v-model="msg.payload" :size="128" :width="12"></v-progress-circular>The difference is subtle, but important. Instead of hard-coding the model-value
to 20, the tag has changed name and it's set to msg.payload. The latter makes the value dynamic.
Changing model-value to v-model is due to leaking implementation details of Dashboard 2.0. It uses VueJS to provide, among other features, easy updating of components. If components are dynamic, always use v-model. This allows VueJS to pick up changes made dynamically.

# Finishing the count down timer
This is mostly a programmers job, but it's not hard, so let's get to it. A button would be great to reset the timer, and for the sake of this post we can hardcode the deadline to 1m from the button press.
When dragging in a button node, connect it to a change
node. In the change node set the flow variable flow.deadline to the timestamp. The Inject node from earlier needs updating to inject the flow.deadline. All that's left is calculating how many seconds passed, and normalizing 60 seconds to the range between 0-100.
The complete flow is:
Written By:
Published on:
Related Articles:
- Node-RED Tips - Dashboard Edition
- Persisting chart data in Node-RED Dashboard 1
- Interacting with ESP32 Using Node-RED and MQTT
- How to Scrape Data from Websites Using Node-RED
- How to create and use Subflow in Node-RED