# Building a Custom Video Player in Dashboard 2.0
> Delve into the possibilities of Dashboard 2.0's new UI Templates with a comprehensive tutorial on building a custom video player.
Dashboard 2.0 just got *a lot* more powerful with our new updates to the `ui-template` node. New features added to the node include:
- Support for a full Vue component to be defined using the VueJS Options API.
- Running of raw JavaScript within `` tags
- Loading of external dependencies through `` tags
In this article we're going to deepdive into an example of how you can use this new functionality to build a custom video player.
We're going to aim for 3 key features:
1. Emit events into Node-RED when a user plays/pauses the video
2. Allow for the video to be played/paused from within Node-RED
3. Allow the user to seek to a specific point in the video from within Node-RED
Reminder: all new releases of Dashboard are now under the `@flowfuse` namespace, so you'll need to update to use `@flowfuse/node-red-dashboard`, and not `@flowforge`.
## Building a Vue Component
With Dashboard 2.0, we switched over our underlying front-end framework to VueJS. We're aware that not everyone coming into Dashboard 2.0 will be familiar with VueJS.
We have a more detailed guide [here](https://dashboard.flowfuse.com/nodes/widgets/ui-template.html#building-full-vue-components), but we'll also give a quick overview of the elements from Vue "component" that we'll use here:
```html
```
Some quick gotchas to note:
- `
{{ msg }}
` - is an example of how you render variables into the HTML.
- `` - lets you conditionally show/hide content based on a variable.
- `` - lets you loop over an array of items and render them into the HTML.
- `` - lets you bind a method to an event, in this case, when the user clicks on the div.
- `` - `:` is a way to define a "bound" property. In this case, the class `my-class` will be applied when `isActive` is true.
- `console.log(this.myVar)` - when you're writing code inside the `` tags, you can access Component variables and methods using `this`.
### Built-in Extras
In addition to building a component from scratch, we'll also utilize some built-in features of `ui-template` too. These will be:
- **Variables:**
- `id` - The unique ID for this node in Node-RED
- `msg` - The message that was most recently received into the node
- `$socket` - The underlying SocketIO connection to Node-RED. Use this to listen to any incoming events, and send new ones back.
- **Functions:**
- `send(payload)` - Send a message back to Node-RED
As above, we have more detailed documentation on these features [here](https://dashboard.flowfuse.com/nodes/widgets/ui-template.html#built-in-functionality).
## Building the Video Player
### Defining the Content (HTML)
We're going to start by adding a basic HTML video player:
```html
```
A few things of importance to note here:
- `ref` is Vue's replacement for `document.getElementById()`. This is copied to each instance of the component, meaning we can call `this.$refs['my-video']` to access the video element, and this doesn't break when duplicating the widget multiple times in Dashboard.
- `style=""` is required here to ensure the video fills the group/wrapper that it is contained within.
- `@play=` is Vue's way of binding onto the standard `onplay` event listener available on HTML video players. We'll define the `onPlay` method in the next section.
- `@pause=` is our event listener for when the video is paused by the user. As with `onPlay`, we'll define this shortly.
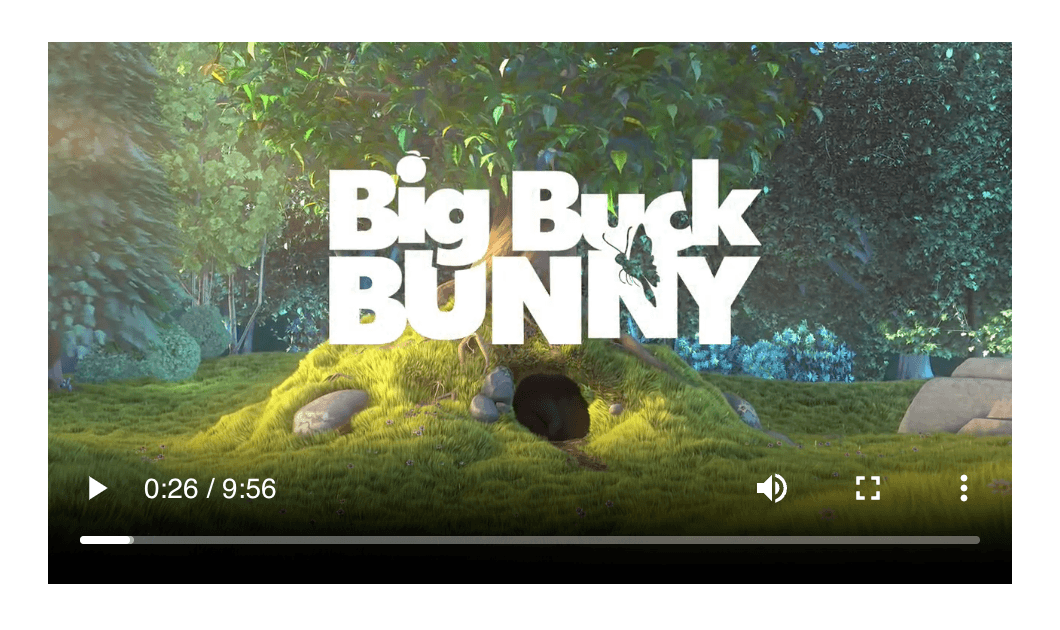
With *just* the above defined, we end up with a standard video player rendered:
### Defining the Behaviors (VueJS)
Now we begin to build our Vue component. Referring back to our earlier set of features, we'll tackle these one at a time.
#### 1. Emitting Events to Node-RED on Play/Pause
We can use `methods` to define our `onPlay` and `onPause` functions that are called `@play`/`@pause` respectively.
```html
```
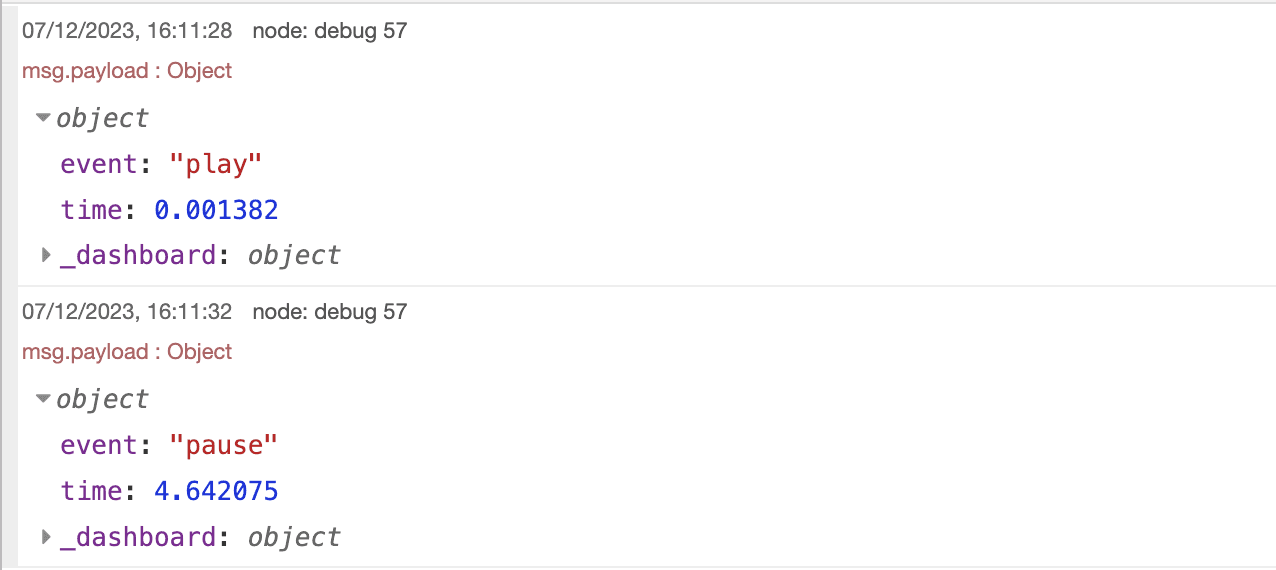
With this functionality in place, we can wire the `ui-template` node to a `debug` node, and see the following when we play/pause the video:
#### 2. Remote control of play/pause from Node-RED
We can use the built-in `$socket` variable to listen for incoming events from Node-RED. When Dashboard 2.0's nodes receive a `msg` inside Node-RED, they send a `msg-input:` event to the Dashboard client. We can listen for this event and then call the `play()` and `pause()` methods on the video element, depending on any properties of that message, in this case, the `msg.payload.event` value.
```html
```
#### 3. Seeking to a specific point in the video from within Node-RED
With the `on('msg-input')` listener in place, we can now extend our handler to handle seeking to a specific point in the video.
```html
```
and with that, we now have a Dashboard 2.0 widget to display a video, that can be controlled from Node-RED, and logs details of user activity back into Node-RED.
Other features available with the UI Template are detailed in the online documentation, and include:
- [Loading External Dependencies](https://dashboard.flowfuse.com/nodes/widgets/ui-template.html#loading-external-dependencies)
- [Running raw JavaScript](https://dashboard.flowfuse.com/nodes/widgets/ui-template.html#writing-raw-javascript)
## Follow our Progress
You can also read the more comprehensive release notes for `v0.10.0` release here:
- [0.10.0 Release Notes](https://github.com/FlowFuse/node-red-dashboard/releases/tag/v0.10.0)
As always, thanks for reading and your interest in Dashboard 2.0. If you have any feature requests, bugs/complaints or general feedback, please do reach out, and raise issues on our relevant [GitHub repository](https://github.com/FlowFuse/node-red-dashboard).
- [Dashboard 2.0 Activity Tracker](https://github.com/orgs/FlowFuse/projects/15/views/1)
- [Dashboard 2.0 Planning Board](https://github.com/orgs/FlowFuse/projects/15/views/4)